A lesson plan is not a bureaucratic form to file before inspection. It is the thinking you do before you walk into the classroom and the quality of that thinking determines nearly everything that happens once you are there.
Introduction
Ask an experienced teacher whether they still write lesson plans and the answers vary. Some say they write them out in full. Some say they keep a rough outline in their head. Some say they stopped years ago once they knew their subjects well enough. What almost none of them say is that they walk into class with no plan at all.
Because the lesson plan is not really about the piece of paper. It is about the act of thinking through what you want students to be able to do by the end of the lesson, how you will help them get there, and how you will know whether they arrived. A teacher who has done that thinking (even informally), teaches very differently from one who has not.
For newer teachers, a written plan is essential. It is the scaffolding that holds a lesson upright while the craft of teaching is still being developed. For experienced teachers, it remains a valuable discipline, a prompt to be intentional rather than habitual, to keep asking “why am I doing this?” rather than simply “what am I doing next?” The six-step structure below works for both, and it can be completed in 20 minutes once it becomes a habit.
A lesson plan is not a script. It is a map. The journey may take unexpected turns, but a teacher with a map knows where they are going, and can navigate back. – Adapted from lesson planning research in teacher education
| Lessons with clear objectives 40% more likely to produce measurable learning gains | Time to write a solid lesson plan 20 min once the six-step structure is familiar | Time wasted in unplanned lessons ~25% of instructional time lost to transitions and dead moments |
Planned lessons vs unplanned lessons
| Without a plan | With a plan |
| Unclear where the lesson is going | Every minute has a purpose |
| Time lost during transitions and dead moments | Smooth transitions keep students on task |
| Some topics rushed, others never reached | Content is paced to fit the time available |
| Assessment feels disconnected from the lesson | Assessment is built in, not added as an afterthought |
| Hard to reflect on what worked and what did not | Reflection after the lesson improves the next one |
Six steps to a lesson plan that works
Step 1: Write one clear learning objective
The learning objective answers the most important question in lesson planning: what do I want students to be able to do by the end of this lesson that they could not do at the start? A good objective is specific, observable, and measurable. It uses an action verb to identify, explain, compare, construct, solve, evaluate, rather than passive language like “understand” or “know.” One strong objective is better than five vague ones. It anchors every decision you make about the rest of the lesson: the activities you choose, the questions you ask, the assessment you use. If an activity does not serve the objective, it probably does not belong in the lesson.
Try it: Before your next lesson, write your objective as: “By the end of this lesson, students will be able to [action verb] [specific content].”
Step 2: Plan your hook or starter activity
The first five minutes of a lesson are the most important. Students arrive carrying the noise, conversation, and distraction of the corridor. A starter activity; something short, purposeful, and immediately engaging — signals that learning has begun and settles the room without a confrontation. This can be a question on the board students answer on a scrap of paper, a quick review of three points from the previous lesson, a surprising fact related to today’s topic, or a short problem to solve individually. The hook does not need to be elaborate, it needs to be ready, visible, and started the moment students sit down.
Try it: Write your starter activity on the board before students arrive. Time yourself: it should take no more than 5 minutes.
Step 3: Structure the main lesson in clear segments
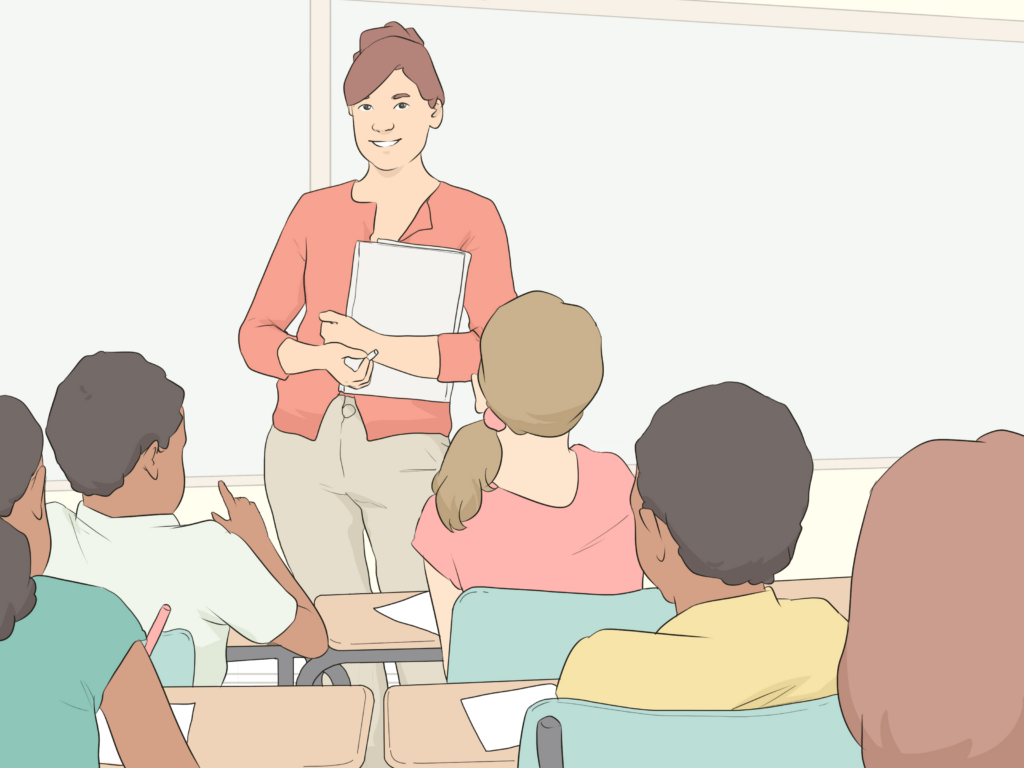
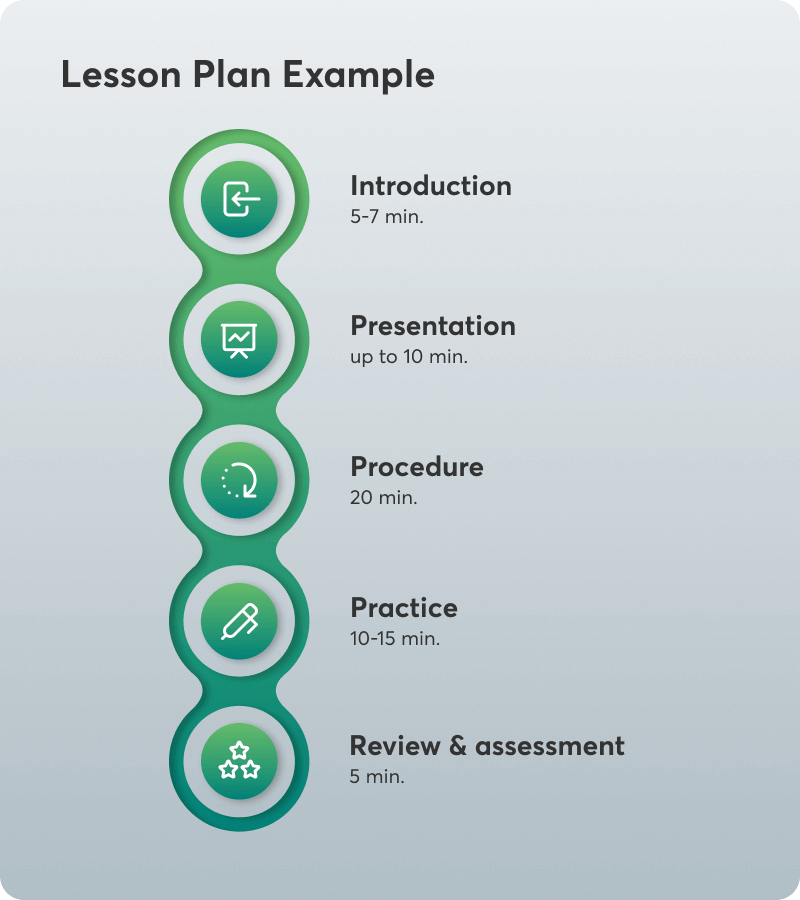
The body of your lesson should not be a single unbroken stretch of teacher talk. Break it into segments of 10 to 15 minutes each, alternating between different modes of engagement: direct instruction, student activity, pair discussion, or demonstration. For a 40-minute lesson, this might mean 10 minutes of direct instruction, 15 minutes of a guided activity, and 10 minutes of student practice. Knowing your segments in advance prevents the lesson from running off course, you always know where you are in the plan, how much time is left, and what comes next. Write your segments with estimated times next to each one. Those time markers become the lesson’s rhythm.
Try it: Write your lesson body as three labelled segments with a time estimate next to each.
Step 4: Build in a student activity
Every lesson plan should include at least one moment where students are producing something, not passively receiving. This could be answering questions on paper, completing a task in pairs, solving a problem independently, writing a short paragraph, or labelling a diagram. Student activity is not a break from teaching, it is the part of the lesson where learning is most likely to happen, because it requires students to retrieve, apply, and use the knowledge they have just received. It is also the part of the lesson that gives you the most useful information: watching students work tells you far more about what they understand than watching them listen.
Try it: Identify one moment in your next lesson where students produce something and protect that time.
Step 5: Plan a closing check for understanding
Many lessons end simply because time runs out. A planned closing; a moment in the final three to five minutes specifically designed to check what students have learned, makes the end of a lesson as purposeful as the beginning. This can be an exit ticket (one question students answer on paper before leaving), a quick show of hands in response to a targeted question, or a brief verbal summary from two or three students. The closing check does two things simultaneously: it gives students an opportunity to consolidate what they have learned, and it gives you the information you need to plan the next lesson. What students struggle with at the end of today’s lesson is what you address at the start of tomorrow’s.
Try it: Write one exit ticket question for your next lesson and use the final 4 minutes to collect responses.
Step 6: Reflect after the lesson, briefly
The lesson plan does not end when the class does. A brief reflection of two or three sentences written immediately after the lesson, while details are still fresh, is one of the highest-return teaching habits you can build. What went well? What did not land as expected? What will you do differently next time? This does not need to be formal: a note in the margin of your plan, a voice note recorded on your phone on the way out, or a single line in a teaching journal. Accumulated over a term, these reflections become a record of your growth as a teacher and a resource for planning the same topic the following year, better.
Try it: After your next lesson, write two sentences: one on what worked, one on what you would change.
Weak objectives vs strong objectives
| Weak: too vague to guide a lesson | Strong: specific, observable, actionable |
| “Students will understand photosynthesis.” | “Students will be able to explain the three inputs and two outputs of photosynthesis using a labelled diagram.” |
| “Students will know about the Civil War.” | “Students will be able to identify two causes and two consequences of the Nigerian Civil War.” |
| “Students will learn about fractions.” | “Students will be able to add two fractions with different denominators and explain the method in writing.” |
A simple lesson plan template; 40-minute class
| Stage | What happens | Time |
| Objective | Write the learning objective clearly. Share it with students at the start of class. | Before class |
| Starter | Hook or review activity written on the board before students arrive. Students begin independently on entry. | 0 – 5 min |
| Segment 1 | Direct instruction; introduce the new concept clearly. Use examples, a diagram, or a demonstration. | 5 – 15 min |
| Segment 2 | Guided activity; students practise with teacher support. Pair work, group task, or worked examples together. | 15 – 28 min |
| Segment 3 | Independent practice; students apply learning alone. Teacher circulates and observes. | 28 – 36 min |
| Close | Exit ticket or verbal check for understanding. Link today’s lesson to the next one. | 36 – 40 min |
A filled example — Basic Science, JSS 2
| Sample lesson plan: The water cycle, 40 minutes, JSS 2 |
| Learning objective By the end of this lesson, students will be able to label the four stages of the water cycle and explain what happens at each stage. |
| Starter (0–5 min) Question on the board: “Where does rain come from?” Students write one sentence independently. Two students share aloud. |
| Segment 1: Instruction (5–15 min) Teacher draws the water cycle on the board, labelling evaporation, condensation, precipitation, and collection. Explains each stage with a brief example from daily life in Lagos; the sun drying puddles, clouds forming, heavy rain. |
| Segment 2: Guided activity (15–28 min) In pairs, students complete a blank diagram of the water cycle, adding labels and one sentence of explanation per stage. Teacher circulates and supports. |
| Segment 3: Independent practice (28–36 min) Individually, students answer: “Explain in three sentences why water on the ground can become a cloud.” No notes allowed. |
| Close: Exit ticket (36–40 min) Students write: “The most important thing I learned today is…” and “One thing I am still unsure about is…” Teacher collects and reads before the next lesson. |
From a classroom in Abuja
A junior secondary teacher in Abuja had been teaching for four years and had largely stopped writing lesson plans, she felt she knew her subjects well enough. After a departmental review flagged that her students were consistently underperforming on end-of-term assessments compared to peers in other classes, she returned to structured planning, adding one specific element she had never used before: a written learning objective shared with students at the start of every class.
Within one term, students in her class began arriving with their textbooks open to the relevant chapter, because they had learned to expect a clear statement of what the lesson would achieve. Her end-of-term results improved. The change was not in her subject knowledge, which had always been strong. It was in the clarity she gave students about where the lesson was going.
Your action step this week
Use the six-step structure to plan one lesson this week, a lesson you might normally prepare in your head on the way to school. Write down the objective, the starter, the three segments with time estimates, and your closing check. Time yourself: once you have done it once, you will see that it takes less than 20 minutes. And the lesson that follows will feel different, more purposeful, more controlled, and more rewarding for both you and your students.